I am looking forward to getting back into the Print Lab at the AC. One of the things I wanted to do last semester and over the spring, was to produce some custom handmade books. Bookbinding is a lot of fun to do it, is amazing to see a finished book come together and it is surprisingly easy.
Here is a list of resources:
Books:
I have read quite a few but the two I like the best are:
The first book is produced by the London Centre for Book Arts which is a really hip organization and it is reflected in their modern stylish book. You can an ebook so it is always accessible on your phone. The second book is at the Ottawa Public Library, so when you can borrow it from the OPL. Both offer easy step by step instructions and are great resources to have on hand.
Online:
The web is vast and resources are plenty but these are three I go back to often:
DIY Bookbinding is a site with articles, it leans more toward written content than video at times. I was drawn to the site because of the article How To Build a DIV Bookbinding Jig. A very handy device. The DIY Bookbinding Tutorials by Sea Lemon is a series (Youtube Mix) of her videos, 80% of the vids are on bookbinding. There is one on making slime and another on snow globes but the rest are excellent bookbinding tutorials. The last is a Skillshare course and it is quick and informative and shows you everything for making a Perfect Bound Book (Paperback).
These are all quick access resources, yes even the books are too, as they are divided up into small projects, very short reads. They also have very digestible sections on theory and history.
Tips
“You are going to screw up, so be patient. “
Who said that?t Me!! Bookbinding does not take long to do though, I can produce a quick book in 15 minutes of actual work time and a few hours or overnight of glue/drying time. This comes with practice of course, often the little journals and sketch pads I make are quick and dirty. I use scarp prints or canvas lying around and any paper left over from craft projects with Abby. It is just very cool to reach for a sketch pad and know you actually made it. Also once you make one you will be addicted because you will realize how easy they are to make. You can also get a little OCD and carried away when it comes to bookbinding. You have been warned!!
tools
The resources listed above will give you plenty of lists to get you started, my only addition here is to let you know you can literally purchase all the tools for under $50. The cutters, presses, and fancier equipment can get expensive, but I got you covered as those links are very DIY. If you are a crafter or sewer, you will most likely have this stuff around your place anyway.
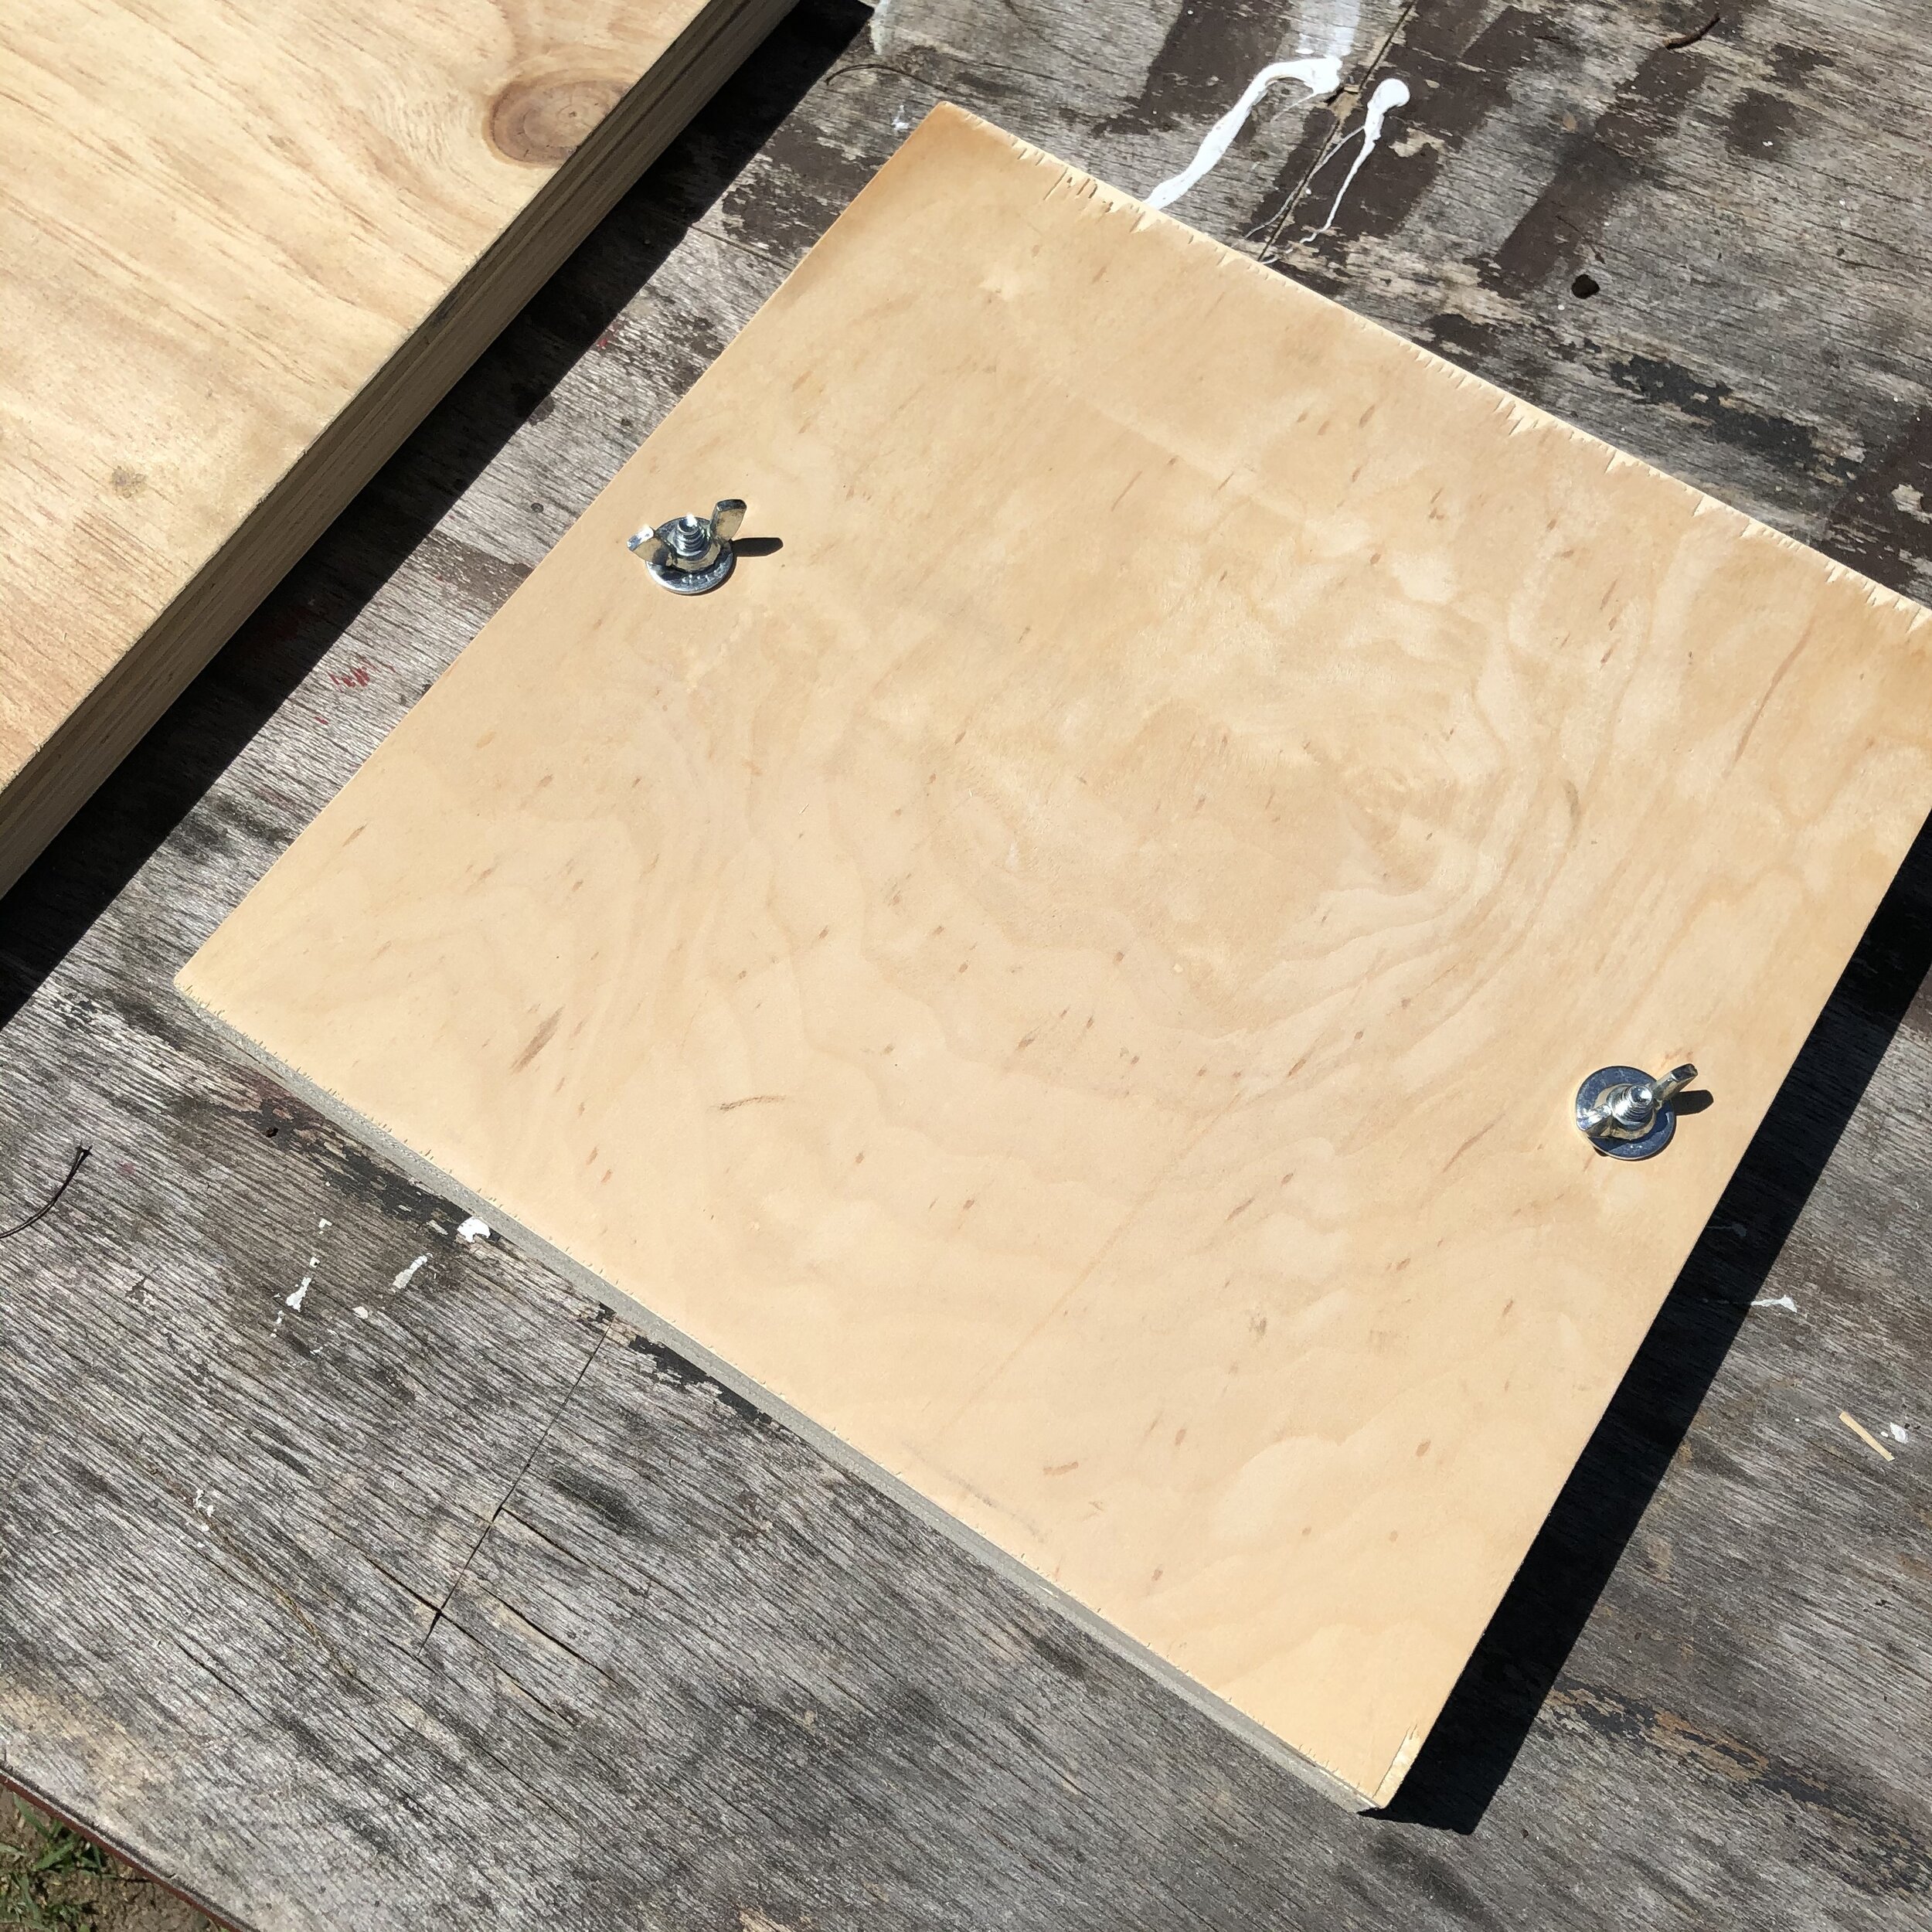
The one thing I did make on the super cheap, with the help of my awesome father-in-law, is two wooden bookbinding presses. I used the Sea Lemon’s tutorial on how to make a press. The only difference is I used scrap wood/offcuts, my father-in-law is a woodworker and a carpenter so it was easy to find some offcuts that worked. I also like upcycling anything to make something new. It is great for the environment and great for the soul. Here are a few pics of us in action, power tools and all.


Double-sided Paper Photo Books
My goal is to produce custom photo books within the Photography Program I teach at. We have all the gear we need, we just need some students (Oooo COVID go away!!). For photographic ink-jet paper… MOAB they make several awesome double-sided papers.
Matte Lasal
Luster Lasal Photo
Fine Art Entrada Rag
The only one I have not tried is the Entrada Rag but if it is the same as its single-sided sibling it is amazing. The luster is not very common in double-sided paper and I was very impressed with it. Very nice colour and tonal reproduction, so excited to see a double-sided luster paper!!
Street Portraits Notebook
Here is one of my latest notebooks made using a scrap canvas print from my Street Portraits series. A portrait of Rafael taken by Wallack’s on Lisgar St. in Ottawa that was printed on Epson Exhibition Satin Canvas.


Happy bookbinding, and if you have any questions feel free to send me an email, reach out via social media, or post a comment below.